Our Top Picks


How-to Guides · Audio preparation
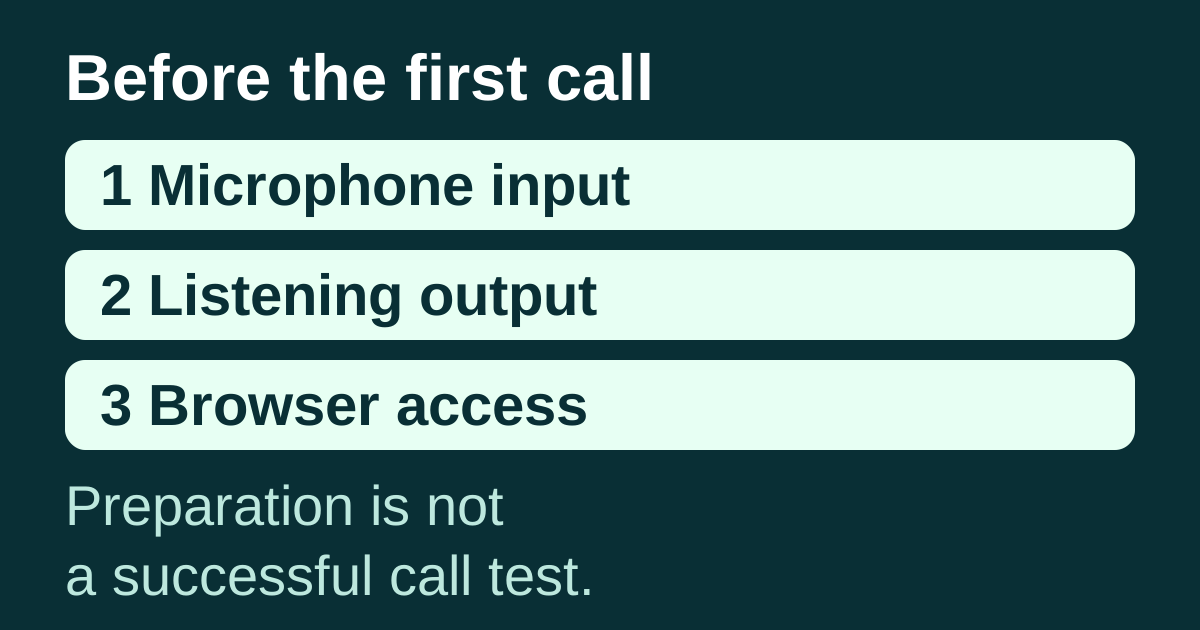
Before working a calling list, separate four questions: is the intended device available, is its microphone capturing speech, can you hear through the intended output, and does the calling environment have the access it needs? A headset appearing in a device list establishes availability—not speech capture.
This guide helps a Trellus caller prepare the computer and browser without using a prospect as a test contact. It covers device selection, microphone access, a local Windows check and a troubleshooting worksheet. It is not a demonstration of a Trellus audio-test feature. No live call or physical two-way audio test was performed for this article.
Start with the equipment you will actually use
Use the headset, computer and browser you intend to use during the block. Changing devices after checking them creates a different setup. Put the headset within reach, check its connection and power, and inspect any physical mute switch. A headset can provide listening audio while its microphone is muted; hearing sound is not evidence that speech is reaching the computer.
Write down the microphone and output names before changing anything. “USB headset” and “laptop microphone” are different choices even when both are available. If your organization manages devices or permissions, ask the administrator about a restriction rather than bypassing it. You do not need to grant microphone access to unrelated websites to prepare a calling session.
Use this exercise before the session, not during an active conversation. Finish or safely leave any current work before restarting a browser. Keep prospect records and calling queues untouched while investigating the computer's audio configuration.
1. Identify the input and output separately
On a Mac: open Apple menu → System Settings → Sound → Input and select the intended microphone. Apple lists available inputs there and documents input-volume adjustment. Follow its sound-input instructions for your macOS version. Selecting an input is not a completed call test.
On Windows: open Start → Settings → System → Sound. Under Input, identify the microphone you intend to use. Microsoft's microphone setup instructions also explain a local test: open the selected microphone's properties, start the test, speak normally, stop it and play the sample. Use a neutral practice sentence, not customer information.
Mac listening and input activity: in System Settings → Sound → Output, select the intended listening device and check output volume/mute. Play a familiar local audio file at a comfortable level. In Sound → Input, watch the input-level meter while speaking normally into the selected microphone. A moving meter shows local input activity, not a saved recording or successful call. Apple's Sound settings guide describes these separate controls; options vary by model.
Windows 11 listening: in Settings → System → Sound → Output, choose the intended playback device. Check its volume and mute state, then play a familiar local audio file before interpreting a microphone sample. If neither can be heard, investigate output first. Microsoft's audio troubleshooting guide covers output-device and volume checks. Do not increase every volume control at once; make one change and observe its effect.
2. Check operating-system app access
macOS with System Settings: open Apple menu → System Settings → Privacy & Security → Microphone. Inspect the entry for the browser/app you use for calling. This app-level control is separate from a website's permission inside Chrome. See Apple's microphone-access instructions for your version.
Windows 11: open Settings → Privacy & security → Microphone. Inspect Microphone access and the desktop-app access control, including Let desktop apps access your microphone. A desktop browser may not have an individual Microsoft Store-app toggle. Microsoft's microphone permissions guide explains the distinction. If policy locks a needed control, record that state and ask your administrator; do not disable corporate protections.
3. Inspect browser access without granting it everywhere
Chrome has its own microphone settings in addition to the computer's settings. Open Chrome Settings → Privacy and security → Site settings → Microphone. Inspect the selected default microphone and the allowed or blocked entries for the intended calling site. Google explains these controls in its camera and microphone guide.
Check the exact site and browser profile your team uses. Access on a different website does not establish access for the calling environment. On a managed browser, the administrator may control these settings. If a required entry is restricted, record the restriction and ask the administrator to review the intended site; do not disable organizational protections.
If the calling workflow asks for microphone access, read the destination and scope before making your own choice. This article does not require camera access, permission for all sites or a new account. Do not change an extension's permissions based on a guess about what it needs. Where the released product asks for a separate setup step, follow that product's current instructions rather than treating this browser checklist as a substitute.
4. Listen before interpreting the local microphone check
A local recording helps you hear whether the selected microphone captured the practice sentence. Use the same short sentence each time so a change in the result is easier to notice.
On Windows, first establish that the known local file can be heard through the intended output. Then listen to the microphone sample: does it contain the practice sentence, and is it understandable? Record the selected devices and result. If playback was not inspected, write “playback not checked.” On a Mac, use the documented input-level observation above; Sound settings do not supply the Windows recording/playback procedure.
Do not call a prospect or create a CRM activity to fill a missing test result. Any later two-way check needs a deliberately agreed destination and process.
A fictional example: the headset was connected, but the input was wrong
Sam prepares a calling block with a USB headset. The computer lists both the headset microphone and its internal microphone. Sam had written “headset connected” on the setup note, but the input selection still named the internal microphone.
Sam records the before-state, selects the intended device through the computer's sound settings, then checks the browser's microphone selection. On a Windows computer, Sam can use the documented local sample and listen to it. The worksheet now says which microphone was selected and whether local playback contained the practice sentence.
Sam has resolved a device-selection discrepancy. If a later calling problem occurs, the team can start with the actual selected devices rather than repeating the original assumption.
Choose the next check from the symptom
- The intended microphone is missing from the computer's list: investigate the device connection and the manufacturer's compatibility instructions first. Browser permission cannot select a device the computer has not made available.
- The microphone sample cannot be heard: first check that the known local audio file plays through the intended output. If that also fails, investigate output/mute/volume. If the baseline plays but the microphone sample is silent, inspect the physical microphone mute switch, selected input and input level.
- The local sample is audible, but the calling environment reports microphone access denied: inspect the exact browser/site access and any computer-level restriction. Local capture and site access are separate questions.
- You hear audio somewhere other than the headset: inspect output selection. Do not treat an unexpected listening destination as proof that the microphone failed.
- The local checks look normal but an actual call had one-way audio: retain the call's time and symptom through an approved private support route. These preparation checks alone cannot identify the cause of a remote-call problem.
Avoid a sequence of unrelated resets. If you change the headset, browser profile and permissions together, you will not know which change mattered. Write the before-state, make the smallest relevant change, and repeat the same permitted local check. If the problem is unresolved, stop preparation and give support the specific failing step.
Copy this readiness worksheet
- Setup: computer/OS version, browser/profile and intended calling environment.
- Input: exact microphone name selected in the computer and, where shown, browser.
- Output: intended listening device and where sound actually played.
- Access: intended site, observed access state and whether an administrator manages it.
- Local evidence: check used, time, practice sentence and whether playback was inspected.
- Unresolved symptom: missing device, silent sample, access restriction, wrong output or other specific behavior.
- Next action: one change/check, its owner and what result would justify continuing.
- Scope of conclusion: computer/browser readiness only, or a separately documented two-way check. Leave untested stages explicit.
Keep private recordings and identifying details out of public support posts. A short setup note can usually state the device names, relevant versions and visible error without exposing a prospect's number or conversation.
Move from audio preparation to the calling workflow
Ready for the next setup step: the intended devices are available, local input activity/sample is observed, known playback is audible through the intended output, and required app/site access has no unresolved restriction. Stop preparation if any of those is unknown or fails. Record the failed step and one next check. Escalate a locked permission to your administrator, a device not detected to the device/support owner, or an unresolved calling-only symptom through your approved private Trellus support route. Local readiness still does not establish two-way call audio.
Once the preparation questions are resolved, use the existing CRM setup guide to plan the list, calling mode and after-call work. For an Attio session, use the Attio call-block guide. Those are different tasks from selecting a microphone.
If the session later stops, the stalled-block guide helps separate list, conversation, follow-up and workflow problems. Bring the readiness worksheet to a Trellus demo when you need to discuss the exact calling setup. Clear preparation is a useful starting point; it is not a guarantee that every later stage will work.

Power and parallel dialing in your CRM.